Set up the registration form for an event
The event landing page includes a registration form. You can use the standard registration form questions, or create your own custom questions. You can make the questions optional to answer, or require registrants to answer the questions to complete their registration. The information you collect from registrants is available in event reports.
To learn more about creating custom registration questions, see Add custom questions to a registration form. You can also allow people to attend an event without registering.
To set up the registration form:
- Sign in to the Webcast Admin portal and edit the event.
- On the left panel, click the Registration tab.
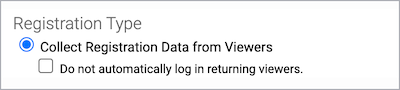
- Under Registration Type, select Collect Registration Data from Viewers to display the registration form on the event landing page.

- Optional. Select Do not automatically log in returning viewers to require returning registrants to enter their email address to join the event.
- The first four fields are displayed. Under Email, click More to display the rest of the standard fields.
Note: By default, First Name, Last Name, Company, and Email are included on the form. You can set the name and company fields to required or hide them. Email is required for registration and cannot be hidden.
- Choose which fields to include (and the information to capture from registrants):
- Select Show to include a field
- Select Require to require registrants to complete the field
- Optional. Under Question, change the field label (for example, you could change Email to Email Address).
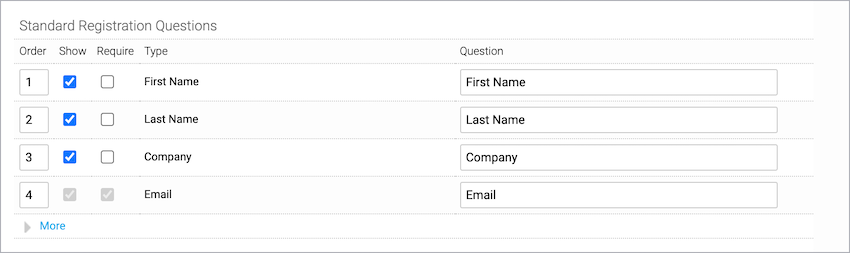
- To change the order of the fields on the registration form, in the Order column, delete the numbers and enter new numbers.
- Click Save and Continue.